Printing from a laptop
To be able to use a printer in the maths network from a laptop, the laptop must either be in the wired laptop network or there must be a VPN connection.
Setting up a printer under Windows
The steps required to set up a printer on your Windows laptop are described below.
- Open the Windows File Explorer
-
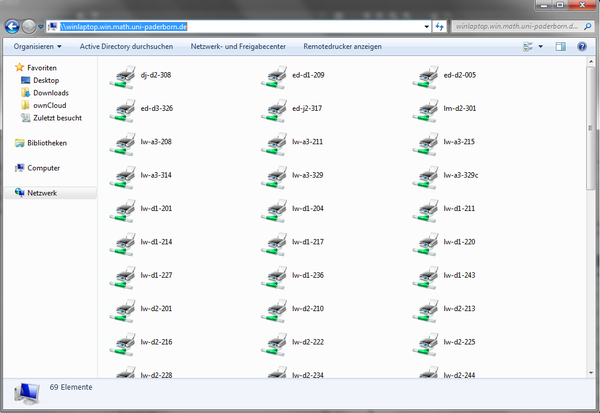
Enter \\winlaptop.win.math.paderborn University.de in the address bar
-
A list of printers available on the server opens. Select an entry from this list and double-click on it. The printer is then set up on your laptop with a suitable driver.

(ed-##-### are the floor printers available in the maths on the individual building levels)
Repeat step (3) for further printers
Setting up a printer under GNU/Linux
You need CUPS on your laptop to set up a printer. Which packages need to be installed depends on the distribution used.
For distributions based on Debian, these are
- cups
- cups-client
- cups-bsd
With these packages, a local CUPS server is installed on your laptop, with which any printer queues can be created.
There are two ways to set up the printers on the locally installed CUPS server. The recommended way is (1):
Each desired printer is configured manually. This means that the entire printer list is not always available on the laptop, which means that the overview does not disappear so quickly.
Option (1)
Open the file /etc/cups/cupsd.conf in a text editor and add the entry BrowsePoll cups2.math.uni-paderborn.de (as of Ubuntu 9.04, the command sudo cupsctl --remote-printers must be executed for the BrowsePoll). After this file has been changed, the CUPS server must be restarted.
Option (2)
Use the CUPS (http://localhost:631) web frontend of your computer. Then click on Add printers and classes and then on Add printer. Now use the following data to set up a printer:
- Protocol: IPP
-
CUPS-Server: ipp://cups2.math.uni-paderborn.de/printers/<name of printer>
You can obtain a suitable printer PPD file for your printer at cups.math.uni-paderborn.de. Please note that a network printer will be set up.
Setting up a printer under Mac OS X
These instructions were created with Mac OS X 11.4 (Big Sur) as a reference. If you are using an older or newer version, the settings may differ.
Note: The lpr command is also available under Mac OS X.
Creating a printer
- Unzip the file Xerox.zip into the directory /Users/Shared/ or /Users/Shared
- Open the system settings and select Printers & Scanners
- Click the + button on the left to create a new printer
- In the dialogue window that now opens, select the IP tab at the top
- Protocol: Internet Printing Protocol - IPP
- Address: cups2.math.uni-paderborn.de
- Waiting list: printers/<name of printer>
- Name: <name of printer>
- Location: -empty-
-
Use: Other - Now navigate to the folder /Users/Shared and select the PPD file "C8145_sw3.ppd" for the floor printer or the file "xrxC505_sw.ppd" for a secretarial printer.
-
Click on Add to set up the printer.
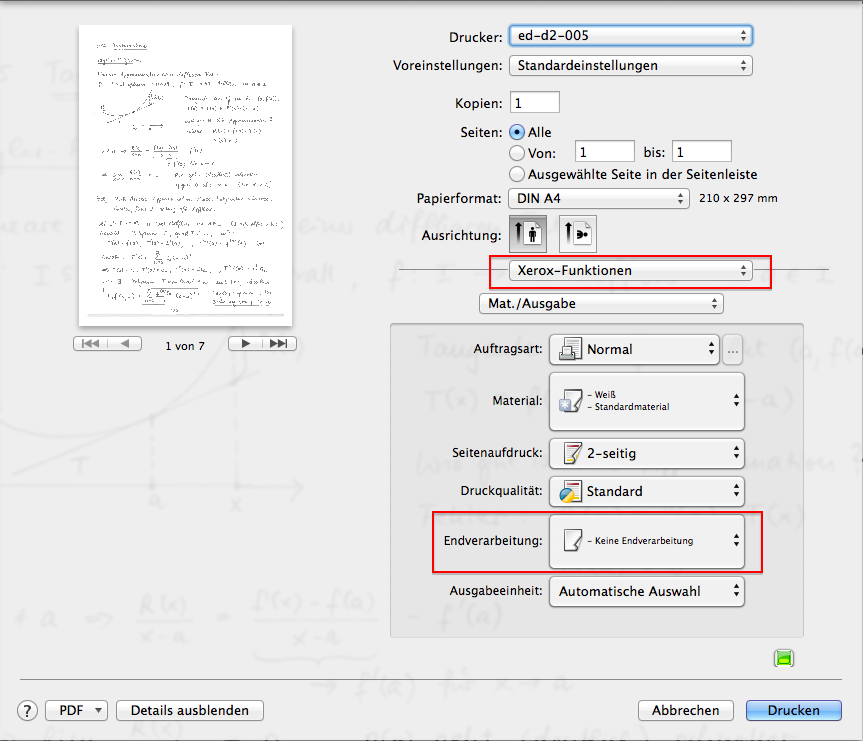
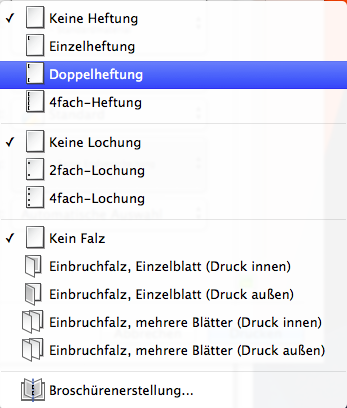
The additional functions can be set in the Xerox functions configuration menu when creating a print job .

Configuration of the default settings of a printer under Mac OS X:
- Call up the command "cupsctl WebInterface=yes " in a terminal with admin rights. This allows administration of the printer via the internal web interface. This command must be executed once.
- Now call up the page "localhost:631" in the browser. You should then see the website of the Macbook's local printer administration.
- Select the "Printers" tab. Select the desired printer and set the desired default settings under "Administration" "Set Default Options".

